You’re here because something about herbal infusions caught your attention—but maybe your last attempt left you with a jar of bitter liquid or barely any flavor at all.
You’re not alone. Getting that perfect balance of aroma, depth, and freshness is harder than most recipes make it seem. The truth is, there’s a science to it—and once you learn it, the possibilities are endless.
I’ve spent time digging into what actually makes a great infusion work. That means understanding flavor compounds, extraction methods, and which herbs shine in oils versus vinegars or syrups.
This guide walks you through herb infusion techniques that work every time. No guesswork. Just vibrant, potent results you’ll actually want to use in your cooking, cocktails, and pantry staples.
Whether you’re experimenting with modern twists or embracing traditional methods, you’re about to unlock a world of flavor—one infusion at a time.
The Foundation: Understanding How Herbs Release Flavor
You’ve probably heard the usual line: “Just toss in some herbs for flavor.” Easy, right?
Not quite.
The truth is, not all herbs play nicely with all cooking methods—and blindly dunking them into your dish can actually mute their potential (or worse, make your food taste like a garden compost mishap).
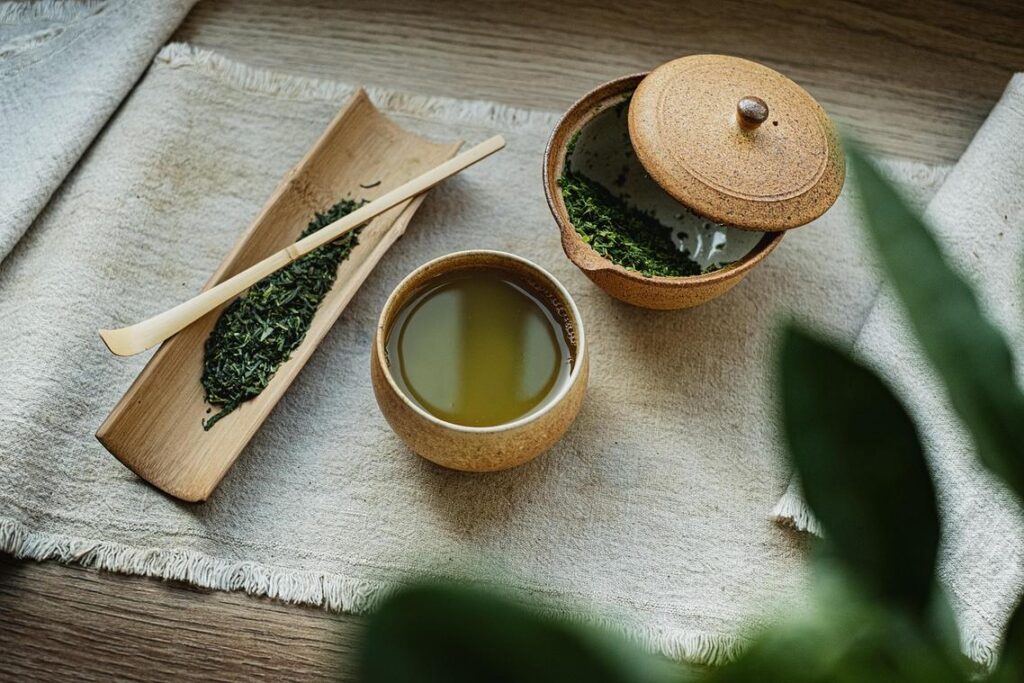
Take water-soluble vs. oil-soluble compounds, for example. Mint? It loves a water bath. That’s why it shines in tea—its aroma compounds dissolve beautifully in hot water. But rosemary? Drop it in water and you’ll mostly get bitterness. Its piney, resinous notes are locked in oil-soluble compounds, needing fat like olive oil or butter to release flavor fully.
Now, here’s where people often get it wrong—herb texture isn’t just a garnish detail. Woody herbs like rosemary, thyme, and sage have thick cell walls and essential oils that actually need heat to break through. They’ll survive (and even thrive) during a long braise. But delicate herbs like basil and parsley? Their subtle flavors vaporize faster than a pop star’s career after a scandal (yes, looking at you, 2015).
Then there’s time and temperature—the unsung flavor team. Heat speeds up extraction, sure, but it also intensifies bitterness if you’re not careful (ever over-steeped green tea?). Meanwhile, cold infusions require patience but reward you with nuance and clarity—think of it as flavor slow art.
Pro tip: Try herb infusion techniques using room-temperature oil and gentle agitation for delicate herbs—heat isn’t always your friend.
So no, don’t just toss in herbs and hope. Extraction is science—and the rules matter if you want your dish to sing.
For more nuanced flavor magic, check out the art of deglazing boosting flavor from the pan.
Core Methods: Hot Infusion vs. Cold Infusion
When it comes to extracting the best from herbs—whether you’re crafting a bold garlic oil or a delicate basil water—the method matters. You’ve probably heard arguments for both hot and cold approaches, and yes, both have their place. Let’s break it down, method by method, with a focus on what it actually means for your prep, flavor, and final dish.
1. Hot Infusion (The Quick Method)
This is your go-to when time is short and flavor needs to come through fast. Hot infusion is ideal for:
- Woody or dried herbs like rosemary, thyme, or sage
- Bold oils and butters that need quick depth
How it Works:
Gently heat your oil (or chosen liquid) with the herbs added, keeping the temperature between 150–180°F. You’re warming it up—not deep frying your oregano. After about 30 minutes, pull it off the heat to steep, then strain once cooled.
Why It’s Great:
You’ll get strong, concentrated flavor in under an hour. Bonus: it’s perfect when you forgot to start your prep yesterday (we’ve all been there).
Heads-up:
If the heat gets too aggressive, you risk burning the herbs, which means bitterness—especially with delicate ingredients. So keep that thermometer close.
2. Cold Infusion (The Patient Method)
Think slow and subtle. This method works best for:
- Fresh, fragrant herbs like mint, basil, or dill
- Lighter liquids such as vinegar, tea, or infused water
How it Works:
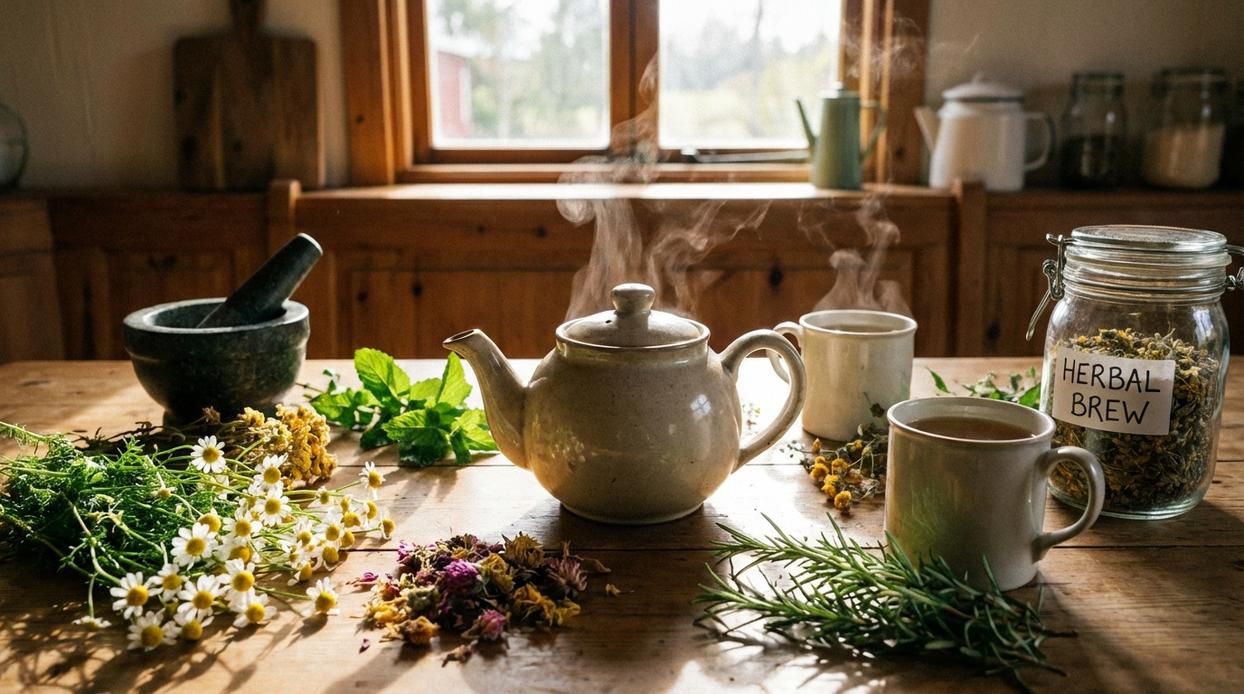
Place your clean herbs in a jar, cover them with your liquid, and let them chill in a dark spot—or refrigerator—for anywhere from a few days to a couple weeks. Shake gently now and then.
Why It’s Great:
This process pulls out bright, delicate flavor notes without any risk of bitterness. It’s perfect for preserving herbs from your garden or elevating cocktails.
Just Know:
Patience is key. Cold infusion isn’t for last-minute plans—it’s a slower, sip-it-later kind of magic.
Pro Tip:
Always label your infusions with the start date. After a week, most oils or vinegars hit their peak, but leaving it too long can lead to muddy flavors.
In short, use herb infusion techniques that match your flavor goals and available time. Need quick depth? Go hot. Want subtle brightness? Go cold. Either way, smart technique leads to better taste.
Practical Application: Step-by-Step Infusions for Your Pantry
Ever wonder how chefs get those infused flavors that seem to whisper instead of shout? The secret’s not just what they use—it’s how they use it. If you’ve got five minutes and a few pantry staples, you’ve got what you need to start infusing like a pro.
How to Infuse Oils
Let’s start with the base: oil.
- For a neutral profile that lets herbs shine, go with grapeseed oil.
- Want a deeper, more Mediterranean vibe? Olive oil brings its own complexity to the mix.
Walkthrough: A classic hot infusion for Rosemary-Garlic Olive Oil
Heat your olive oil gently (don’t let it smoke—low and slow wins here) with a few sprigs of rosemary and smashed garlic cloves. Keep the temperature around 180°F for 30 minutes, then strain into a clean container.
Critical Safety Note: Fresh garlic and herbs in oil can create a risk of botulism—yes, the scary kind. Always refrigerate your infused oils and use them within one week. (Pro tip: Label them with the date. Your future self will thank you.)
How to Infuse Vinegars
For bright, punchy flavor, turn to vinegar. Best picks?
- White wine vinegar (for elegance)
- Apple cider vinegar (for earthiness)
- Champagne vinegar (for a clean, bubbly twist)
Walkthrough: A simple cold infusion for Tarragon White Wine Vinegar
Pop a few sprigs of tarragon into a sterile jar, cover with white wine vinegar, seal, and let it sit for 7–10 days in a cool, dark place. No heat needed—just time and patience.
How to Infuse Simple Syrups
Perfect for lemonades, cocktails, or dazzling a dinner guest.
Walkthrough: A gentle-heat method for Mint Simple Syrup
Combine equal parts sugar and water, warm gently until the sugar dissolves, then remove from heat and toss in fresh mint. Let it steep until cool, then strain. (Bonus: It stays that vibrant green if you don’t overheat—think spa water, but fancier.)
Just remember: “use herb infusion techniques” like these thoughtfully, store them properly, and you’ll unlock a whole new layer of flavor in even your simplest meals.
Modern Kitchen Hacks for Superior Infusions
Let’s break it down.
If you’ve ever scorched basil trying to make an infused oil, you already know the pain of imprecise heat. Enter sous vide infusion. This method gives you pinpoint temperature control, allowing delicate herbs to release their oils slowly—without risking bitter, burnt notes.
Then there’s rapid infusion with a cream whipper. Sounds sci-fi, but it’s simple: pressurized nitrous oxide (N2O) forces liquid into herbs, extracting flavor in minutes. (Think cold brew, but on fast-forward.)
Here’s a common misconception: chopping herbs always equals more flavor. Not true. The muddle vs. chop prep hack works because lightly bruising plants unlocks essential oils without unleashing bitter chlorophyll.
One pro tip? Always strain your infusion twice—once through a mesh, then cheesecloth—so you capture all that vibrant taste without the grit.
Whether you’re experimenting or refining, these tricks make herb infusion techniques smarter, not harder.
From Basic Ingredients to Culinary Masterpieces
Nobody wants to spend time in the kitchen only to end up with infusions that taste bitter, weak, or just plain wrong.
That’s why this guide exists — to save you from bland results and give you complete control over flavor.
You came here to understand herb infusion techniques, and now you’ve got the confidence to choose the right method for any ingredient or liquid. Whether you’re working with delicate herbs or hearty roots, timing, temperature, and herb type are now part of your toolkit.
So what’s next? Start small: try a lemon-thyme infused oil or a basil simple syrup. See how a single infusion can unlock complex, vibrant flavors.
You’ve already solved your biggest infusion problem — now it’s time to taste the results.
 Michaelgelo Urbinara brings a love for global cuisine and culinary experimentation to his writing. As an author, he explores diverse recipes, ingredient insights, and step-by-step cooking methods that help readers expand their skills in the kitchen. His approachable style makes both beginner and experienced cooks feel confident trying new dishes.